

Repurposing objects is a lesser-known hobby of mine, and it has been such a useful outlet for the creativity that sparks in my brain throughout the day. Through it, I have found different ways to create a few unique and cute household DIY decorations that anyone can make! It all starts with another hobby of mine…
Thrifting
You named it! Thrifting is the perfect way to find items that are vintage and original. Thrift stores are the home of countless unique knick-knacks and baubles, and I just know you’ll find something worth repurposing at your local thrift store. Usually, I find myself in the “object area,” at least that’s what I call it. It’s the area of the thrift store beyond the speckled sea of used clothing. Usually, it’s smaller than the clothing selection, but it’s chock-full of interesting items.
As they say,
One man’s trash is another man’s treasure,
and that’s especially true in DIY repurposing, so hit your local Goodwill or thrift store and find some objects (glass bottles, old paintings, records, etc.) and let’s start painting.
Hand Painted Beehive Glass

Want to see more images like these?
This beehive started with an idea and glass from Goodwill. When I saw it on the shelf, I immediately thought “beehive!” Knowing I needed a little trinket container for the apartment, I inspected each angle and set up my painting station. Said painting station is as follows: a black tablecloth, a few paper towels, my huge assortment of acrylic paint, a water cup and paint brushes.
My thought process wasn’t very complex, I wanted to make this beehive-shaped glass reach its beehive-shaped potential. Here is how I did that⇢
- Paint a base coat. First, I painted a base coat around the entire thing. In this case, it was a yellowish-tan that I mixed together. Three coats later, I was ready to add detail.
- Visualize and detail. I tried to imagine where I wanted all of the details, and I decided to use the natural shape and borders of the jar for the stripes (a mix of brown and tan paint). Next, I turned the jar slowly as I painted to ensure that I wasn’t painting the circle irregularly. Finally, I touched up the stripes with the yellow-tan paint from before. Always keep your base color handy!
- Add final touches and highlights. Here, I added the light yellow highlights to the beehive and painted on little bees as well as the hive’s opening. The bees are simple– A small black circle, an oval body, wings on each side, and some stripes, a stinger, and antennas.
There we have it, the perfect little jar for storing sugar packets, sweet treats, or anything else you can think of!
Here’s a little exercise: purchase a glass container in the weirdest shape you can find. Now, observe it closely and examine each side of it. Does it resemble anything? Does the shape remind you of anything? A facet of repurposing for a DIY project is overcoming functional fixedness, and finding new angles and purposes for regular objects is essential in the creative process.
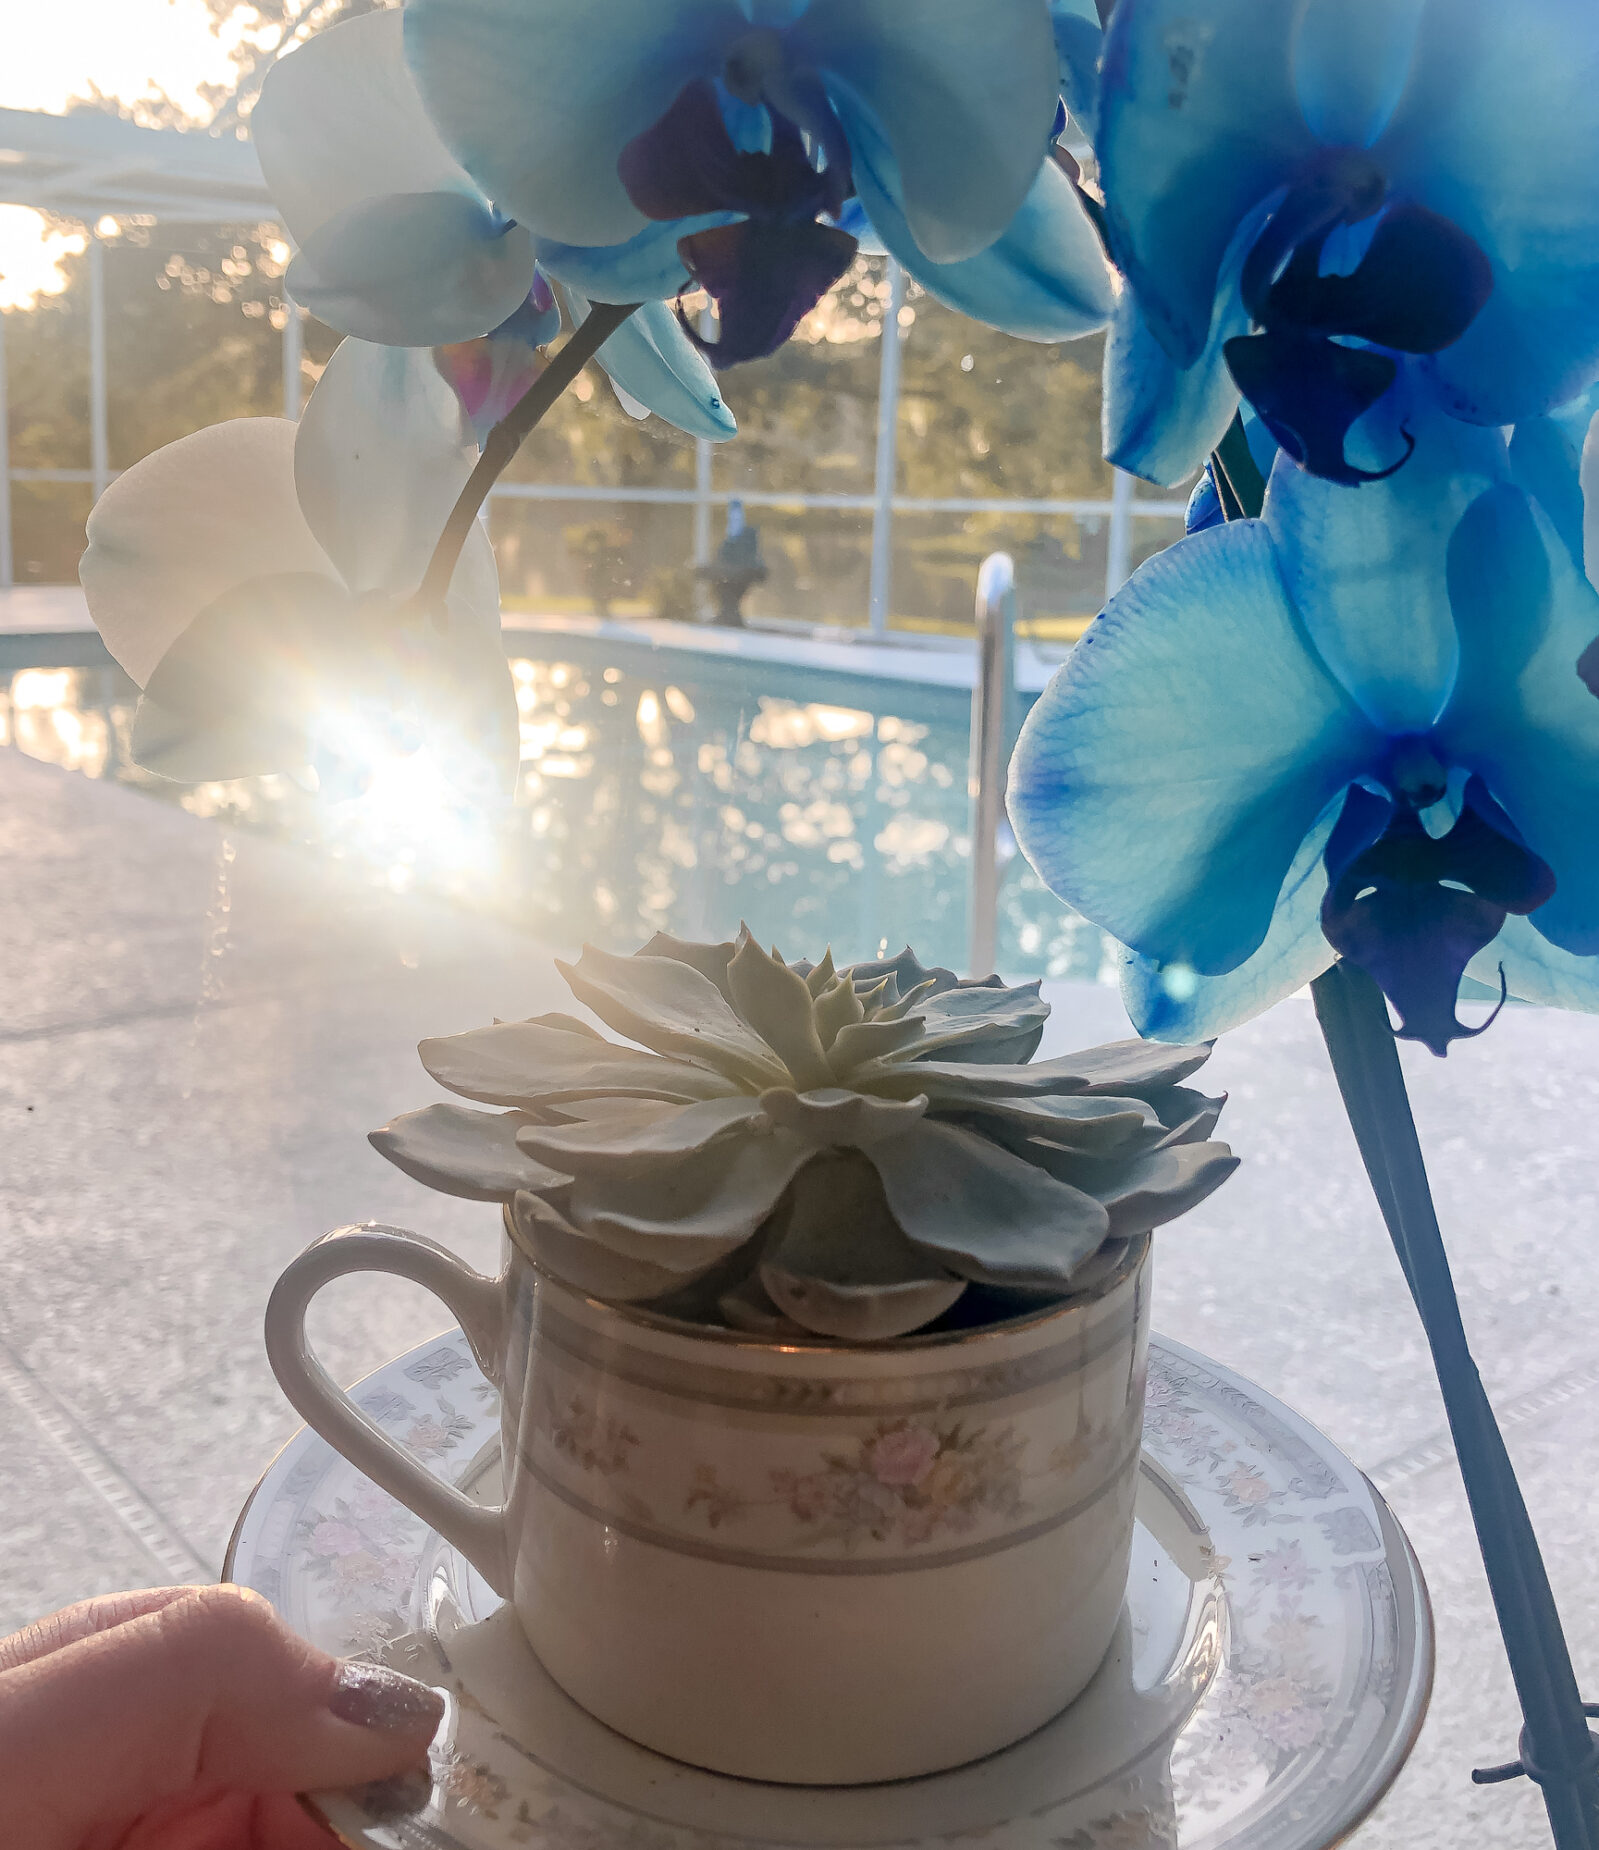
Teacup Succulents
Want to see more images like these?
This one is simple, all you need is a teacup, a succulent, and your imagination. After finding a teacup and its accompanying plate at a thrift store, I headed to Lowes and found the perfect little succulent. After that, it was all about transferring the succulent to the teacup and ensuring that it had everything it needed to thrive.
Want to see more images like these?
1. Find a succulent and a teacup. The teacup was an easy Goodwill find, and for just over a dollar, I couldn’t say no. After the teacup, I was on the hunt for the perfect succulent. I found these beauties at Lowes, where the succulents are normally bought in packs rather than individually. Because of this, I found a planter with an assortment of succulents to be a better buy.
2. Transfer the succulent. Use the soil from the original container and ensure there is enough room for the actual flower to fan out.
3. Decorate its living space. I added some small pebbles to the inside of the teacup to add a little color, but you can decorate with almost anything (as long as it’s small enough to fit!). You can even paint the cup itself with a slightly damp brush and acrylic paint.
Make sure to check out the different ways to keep your teacup succulent alive.

Want to see more images like these?

Want to see more images like these?
I hope you enjoyed these two projects!
Do you want to see more DIY in the blog? Let me know below ⇣