

As a content creator for a pet company, there is a lot I’ve had to learn to catch our furry friends on camera. Some photo shoots have been successful and others have opened my eyes to what I need to improve on. Here are some tips and tricks for helping you capture the perfect pics of your pups!
Getting Your Dog’s Attention
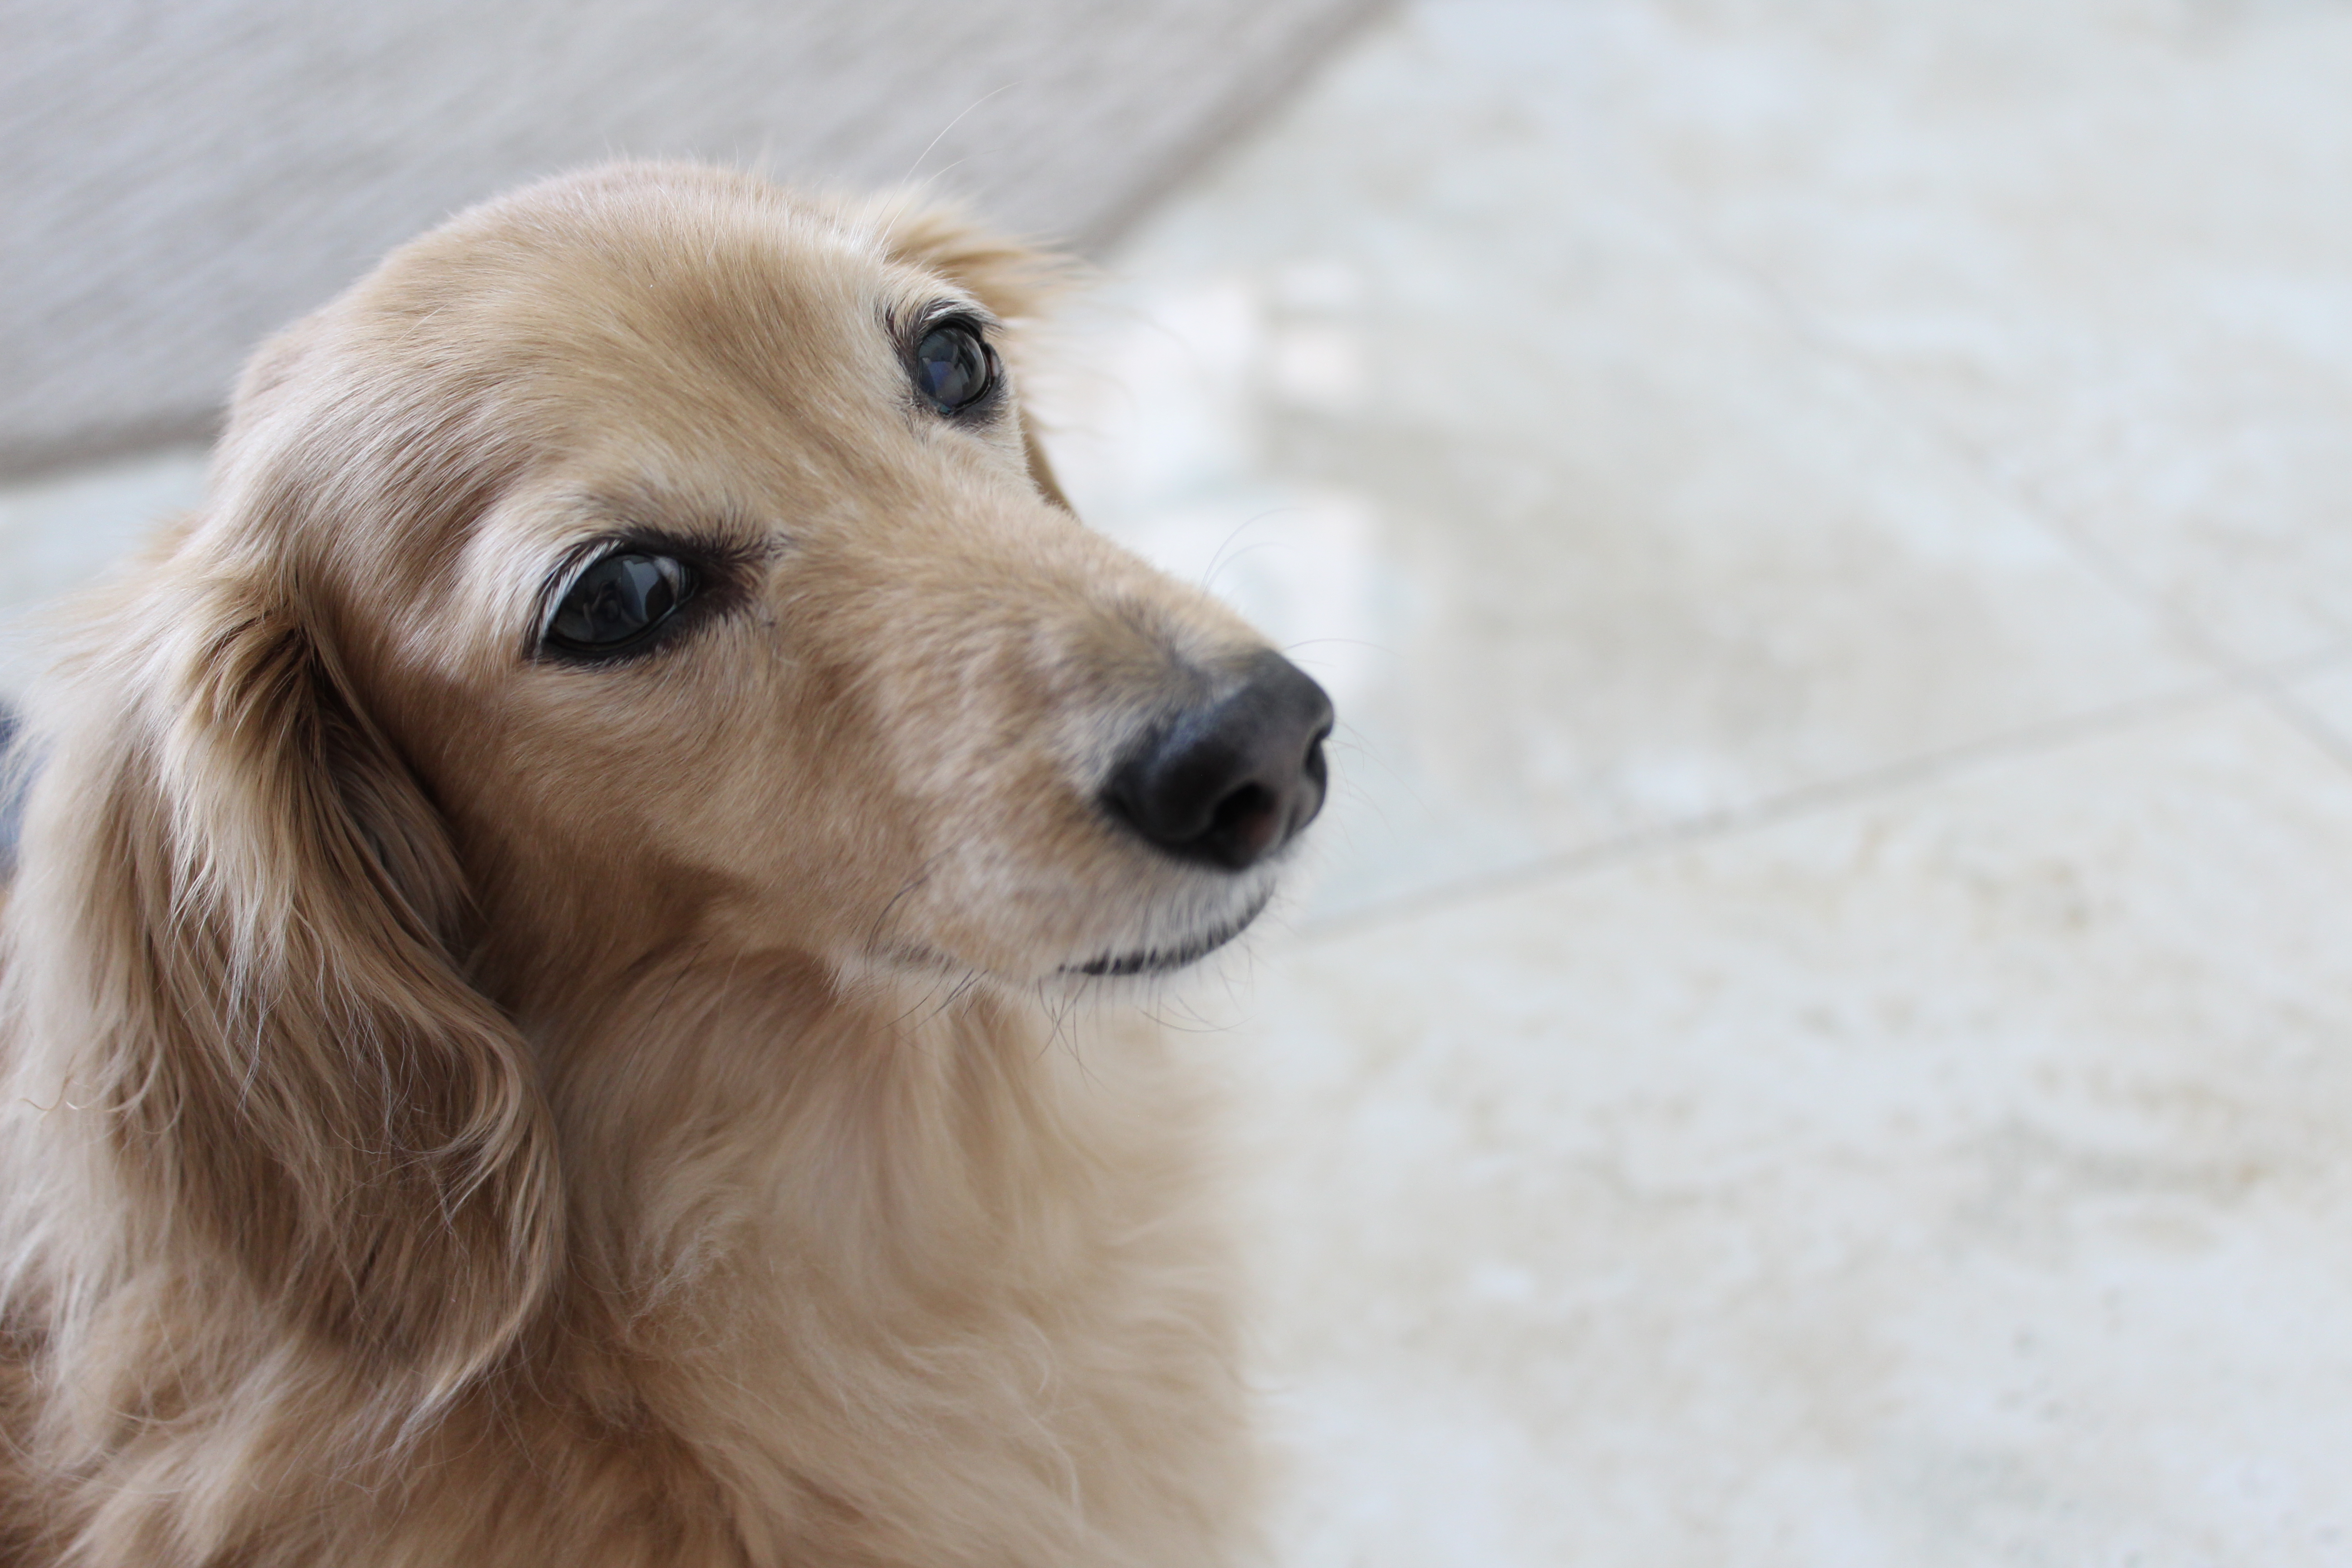
Dog’s have personalities just like people, and the difficulty of photographing their unique characters can differ depending on their temperament. Getting your dog’s attention is important if you’re trying to achieve head-on shots, and there are a few ways to go about it.
- Call their name. Most dogs respond to their name, and you can snag a great picture at the moment that they glance in your direction. You can also create positive associations by rewarding your pet when they listen to your call. Whether you give them a reassuring pat or a small treat, you can create positive associations that will make it much easier to grab your dog’s attention.
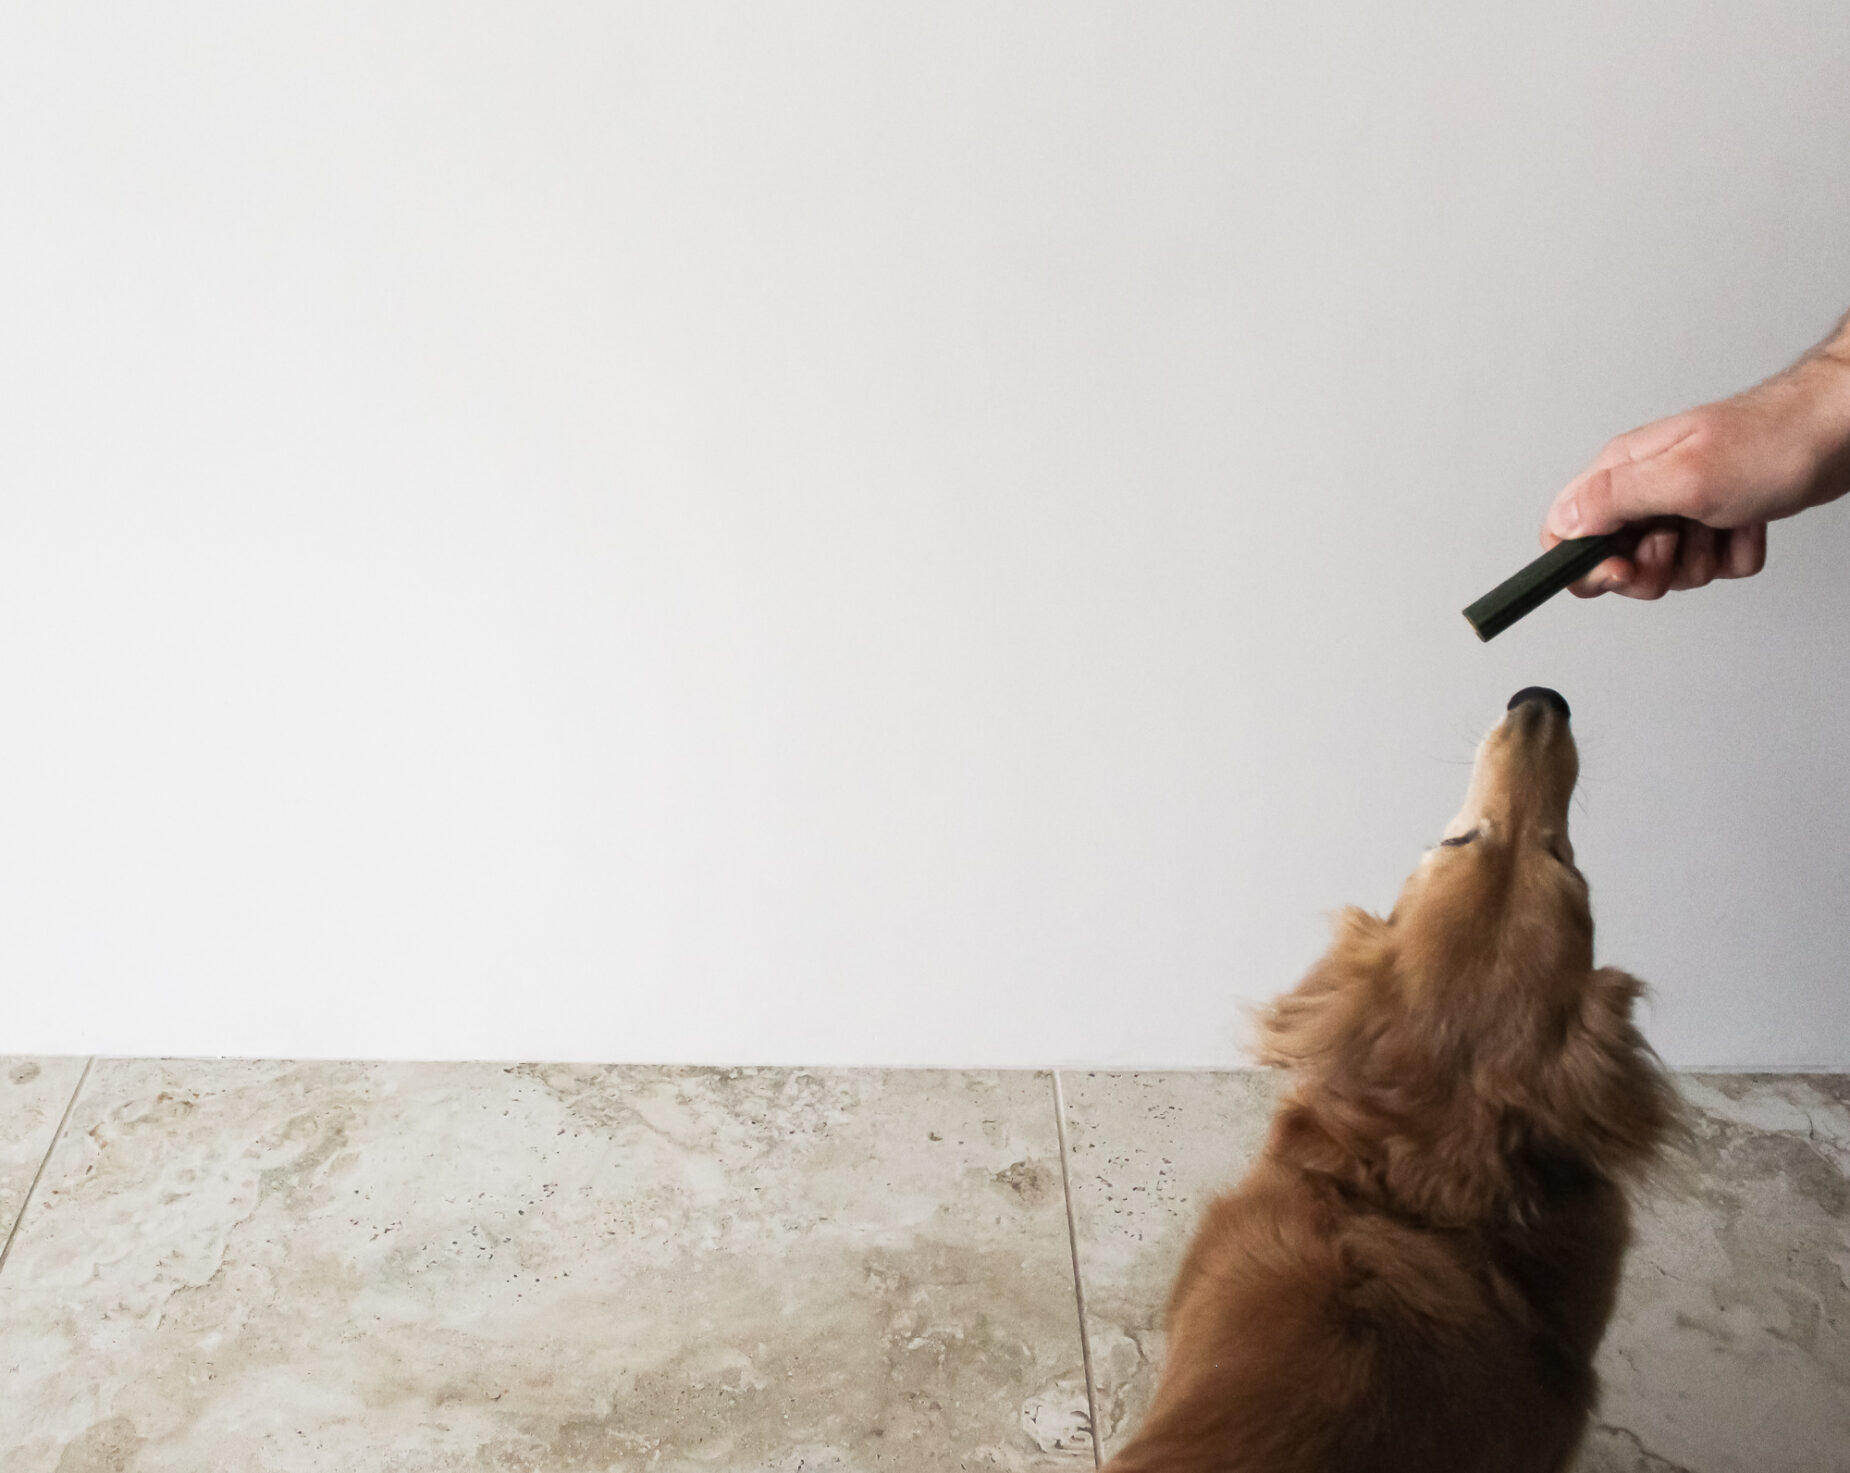
- Use an incentive. Does your dog have a favorite treat or toy? Using a toy or treat to direct your dog’s attention is another way to capture one of those split-second shots. Having someone dangle the treat in or out of the frame can work to guide your pet’s glance towards the camera. Just make sure you reward them once you have your shot!
- Give your dog something familiar. This works especially well if your dog is anxious. Introducing a familiar toy or bed can make them feel comfortable and help them stay still.
Setting the Scene and Choosing Your Light
The setting has a lot to do with your final product. Your setting may be a park or field, which are perfect for sports and motion shots. Or, you may want to take an indoor picture with your dog demonstrating a product or just playing around. Settings tell stories, and so you should choose your setting depending on the ideas you want your images to express.
A determinant of the setting that is especially important is light, and the first distinction of light is whether it’s artificial or natural. Natural light is the light that’s outside your window or peering through it. This light can be soft and flattering. The ideal time for natural light is just when the sun is rising or setting, which is commonly referred to as the golden hour. Artificial light is made by humans and can include sources such as ceiling and studio lights. While artificial lighting can sometimes be bent to fit our ideals, natural light is relatively uncontrollable. With a little help from timing and the settings on your camera, you can become a master of lighting and ensure your pictures are perfectly lit.
It All Adds Up: Taking the Picture
It’s no surprise that dogs can be tricky to photograph, sometimes it seems like they’ll never sit still. You’ll need to set your camera depending on the movement, setting, and light. I prefer shooting in manual mode, which gives you the most control over your aperture, ISO, and shutter speed. Also, consider a tripod to keep your camera steady.
- Shutter speed is important for fast-paced scenes. The shutter speed of your camera determines how long the shutter remains open, and it is one of the points of entry for light in your camera. A fast shutter speed, say 1/4000, may catch your dog running in broad daylight, but using this shutter speed indoors could leave your photo really dark if your other settings are unbalanced.
- Aperture will determine the light when paired with fast shutter speed. Aperture also determines the depth of field of your image. Darker settings require a smaller f-stop, such as f/2 while images shot in bright light may require a higher f-stop. With a higher f-stop comes a higher depth of field, meaning the entire frame will show detail.
- ISO will add noise, but it can also affect light. ISO determines your sensor’s sensitivity and therefore your image’s exposure. Using a fast shutter speed and a high ISO sounds tempting, but beware that this pair can cause excessive grain, or noise, in your image.
These elements of photography work in synergy when they are adjusted just right. I recommend tinkering with your aperture, ISO, and shutter speed to understand how they each balance one another. Keep in mind the motion of your subject and the light of your setting and you will do just fine!