Life is hectic, that’s a fact. Even so, there are ways to organize the chaos of everyday life. Here is my proposal: keep a weekly planner! Allotting time to different portions of your life can decrease your stress and anxiety through preparedness.
Who doesn’t need any more stress and anxiety? If your answer is an enthusiastic “me!” then this post is for you.
What Is a Planner?
A planner can be anything from a store-bought book with tabs to a makeshift journal. If you’re considering the purchasing avenue, there are many stores that carry planners year-round. If online shopping is your forte, you can consider websites such as Amazon or Barnes & Noble. I’ve been getting my planners from Barnes & Noble for years and I’ve found that their planners are sturdy enough to handle the wear and tear from bouncing in my bag all day.
Not interested in purchasing a planner? You can simply make one using an old journal or spiral and some decorations.
Why a Planner?
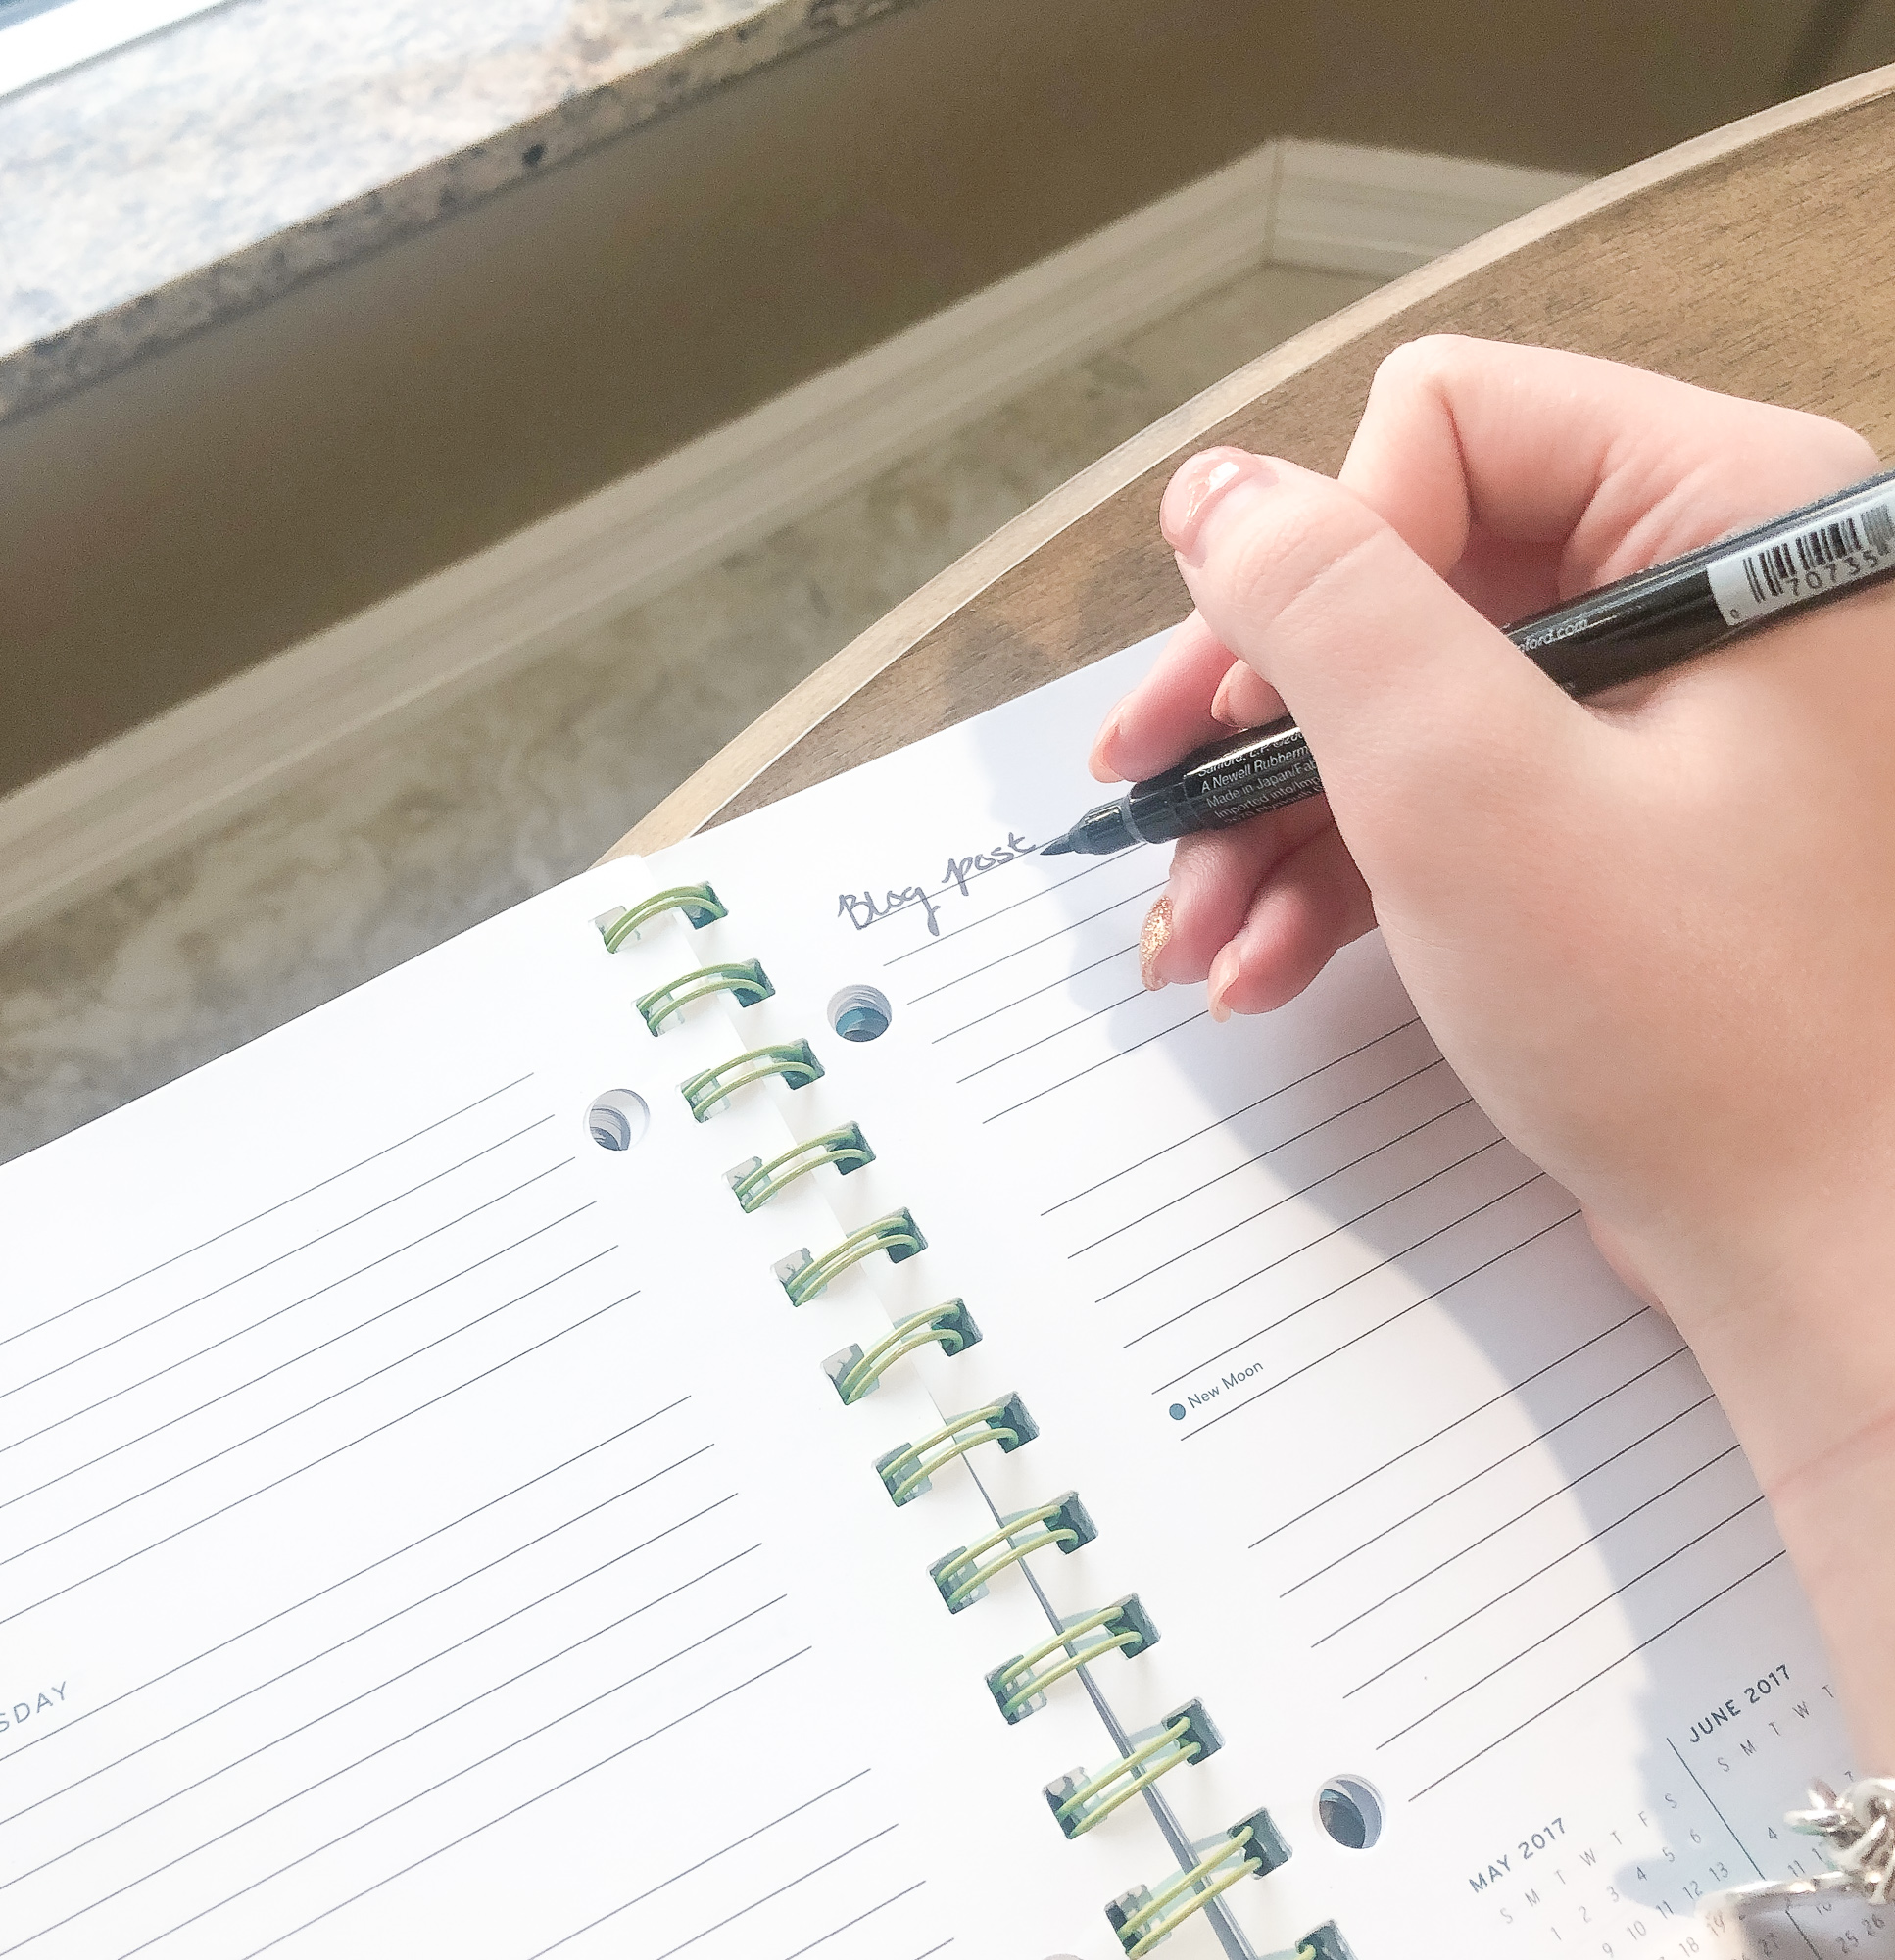
Navigating through work, school, and life is hard without a plan. That’s where the planner comes in. Scheduling yourself can help you stick to your goals rather than push them off. For example, if I have photos from a shoot I need to edit, I find it much easier to motivate myself to edit them if it’s written down in my planner. Writing things down gives them more legitimacy, and it becomes harder to ignore them with a constant reminder from yourself.
To put it simply, planners can help:
- Organize plans
- Legitimize responsibilities
- Strategize
- Budget time
- Keep you motivated
I use my planner for everything from traveling to scheduling time with my friends. Your planner can be a scheduler for anything and everything, it can include your to-do list, or even help budget time for hobbies.
Planning=productivity.
How to Make Your Own Planner
This is the fun part, DIY planners can be personalized to your style and aesthetic. Here’s what you’ll need:
- An old journal or spiral notebook
- Art supplies– Pencils, pens, paint, ribbon, anything you can think of to decorate your cover
- Two sheets of card stock or material that you want to use to reinforce your cover
- Ruler
- Glue stick/glue gun
- Scissors
- Printer and computer (optional)
- Creativity
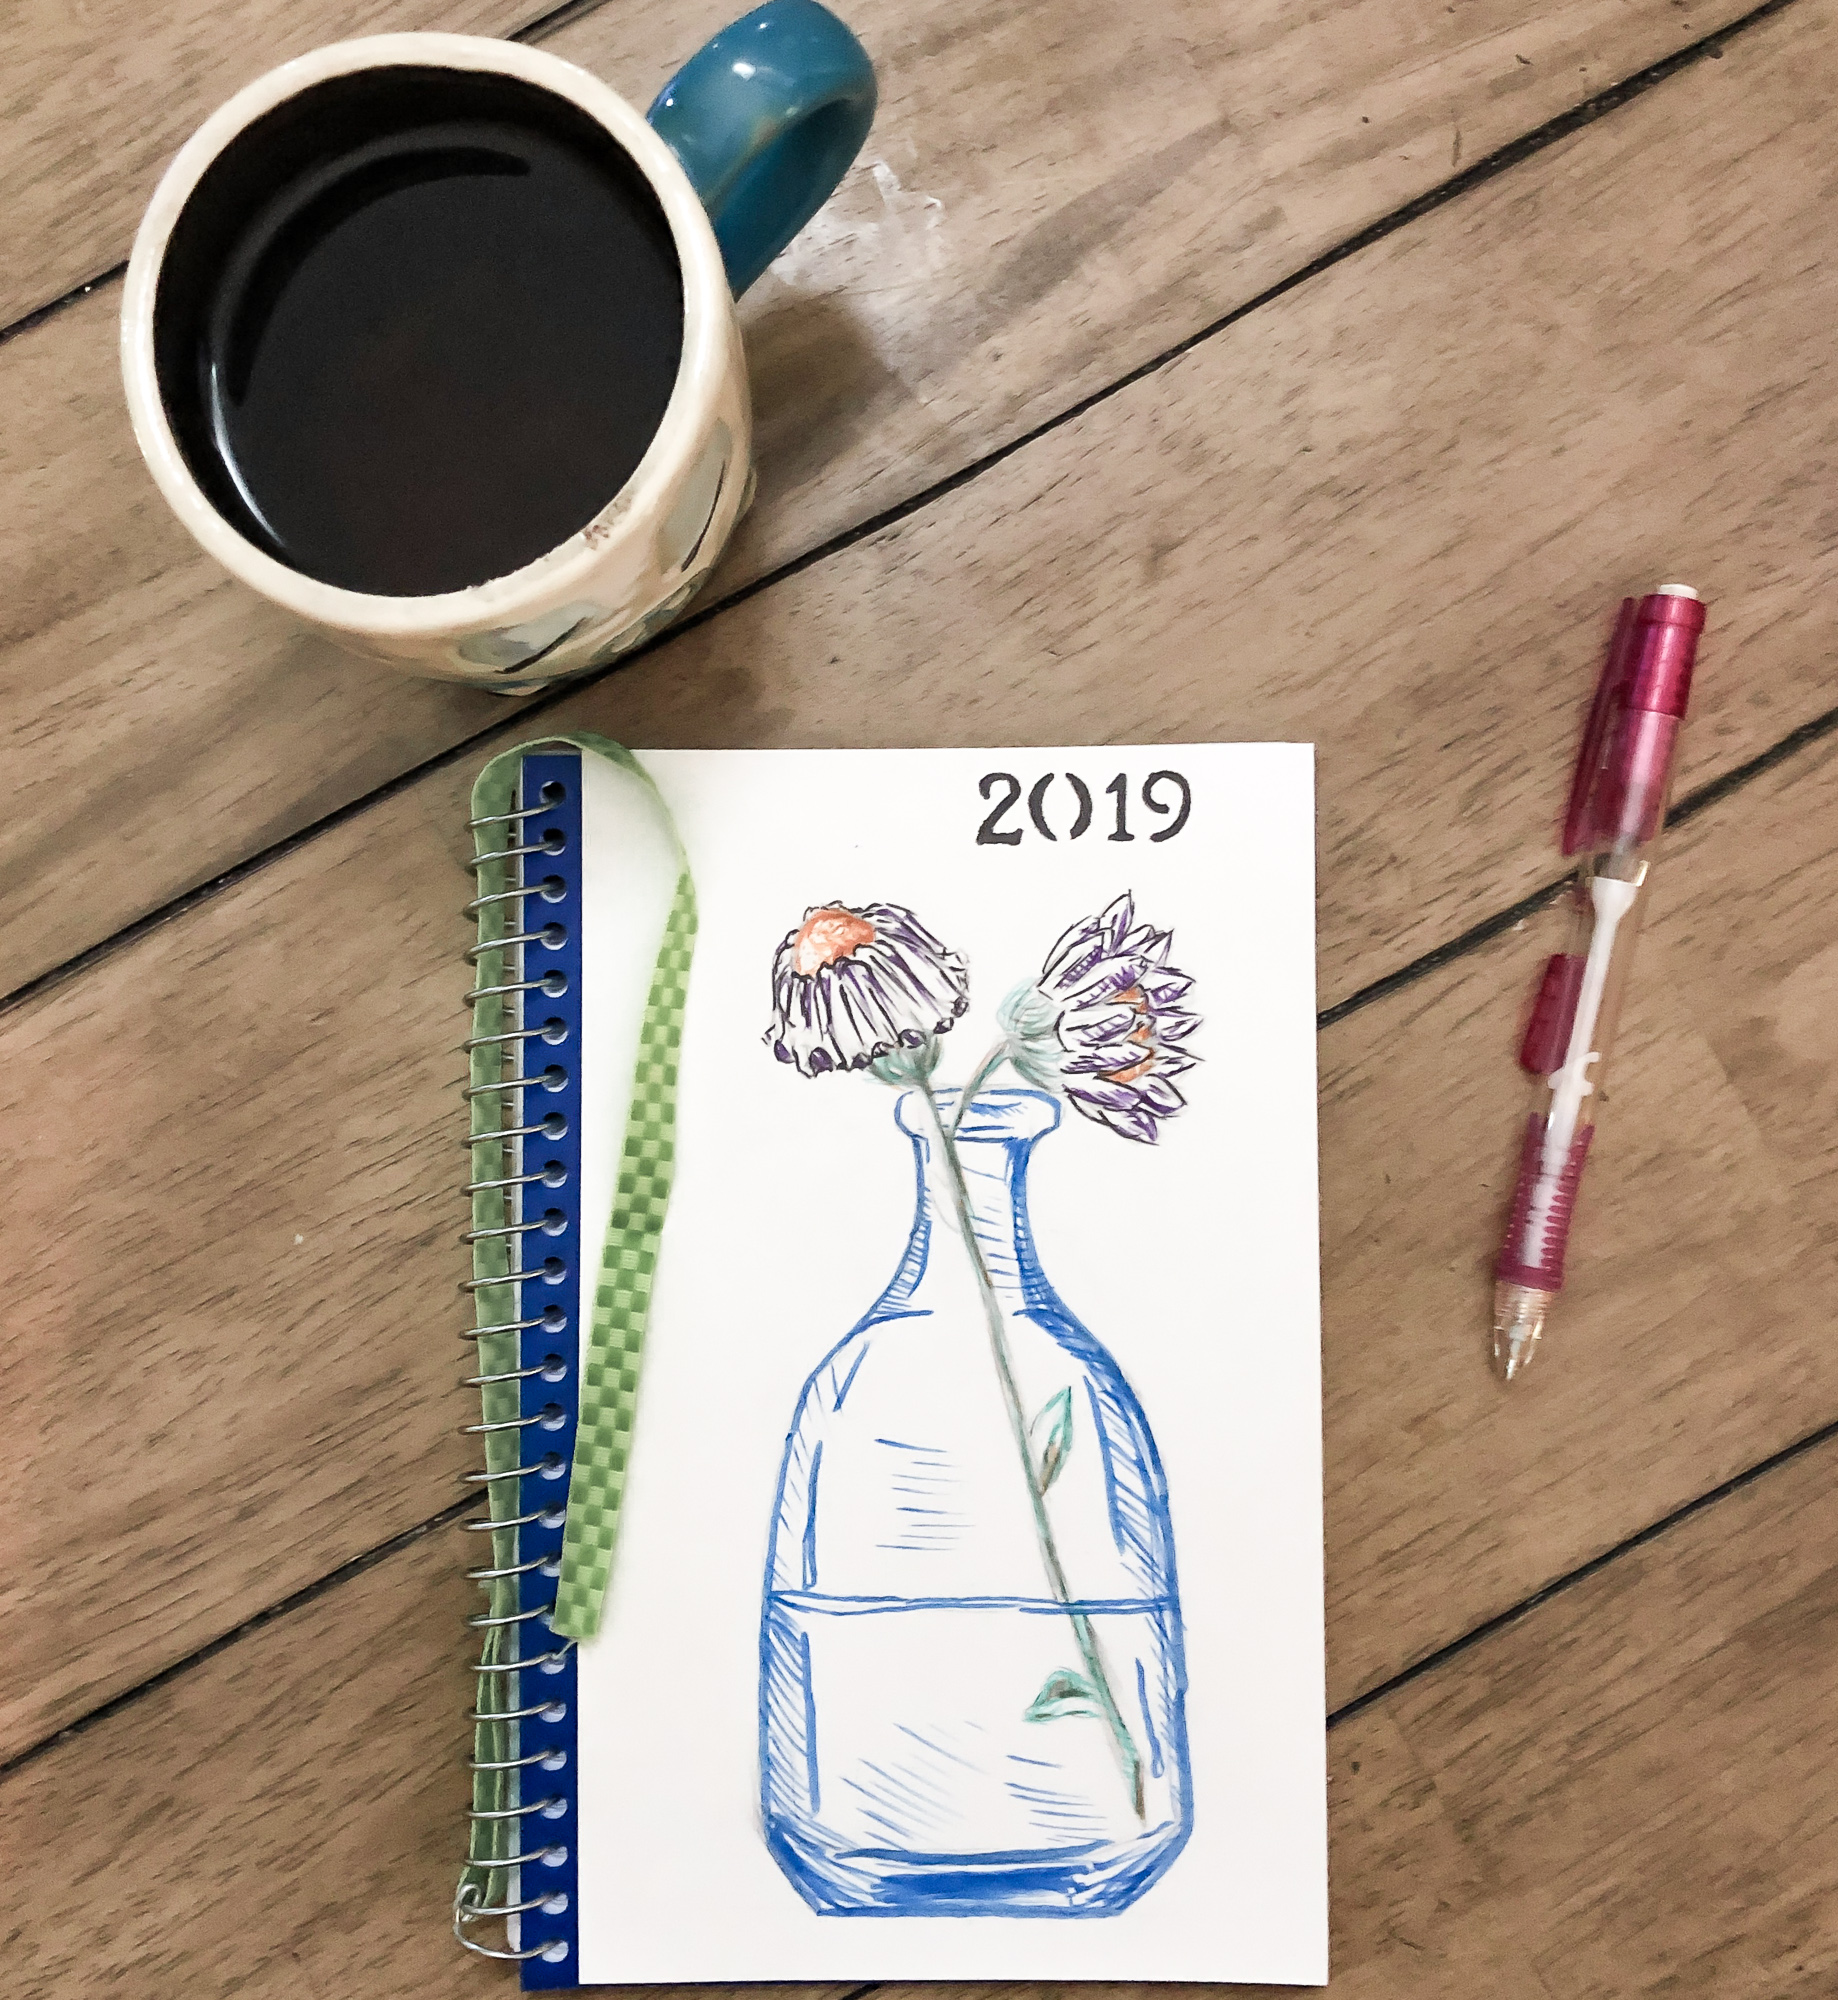
Step 1: First off, Grab your materials and begin to decorate the two pieces of card stock or other material you will use for your covers. You can paint them or even print out a template. You’ll need to cut them to fit the length and width of your journal or spiral. You can use stencils to keep the numbers and letters on your cover neat. For my cover, I used stencils for the “2019” and I quickly sketched and outlined a glass bottle with flowers in it.
Step 2: Glue your covers to the front and back of your journal or spiral.
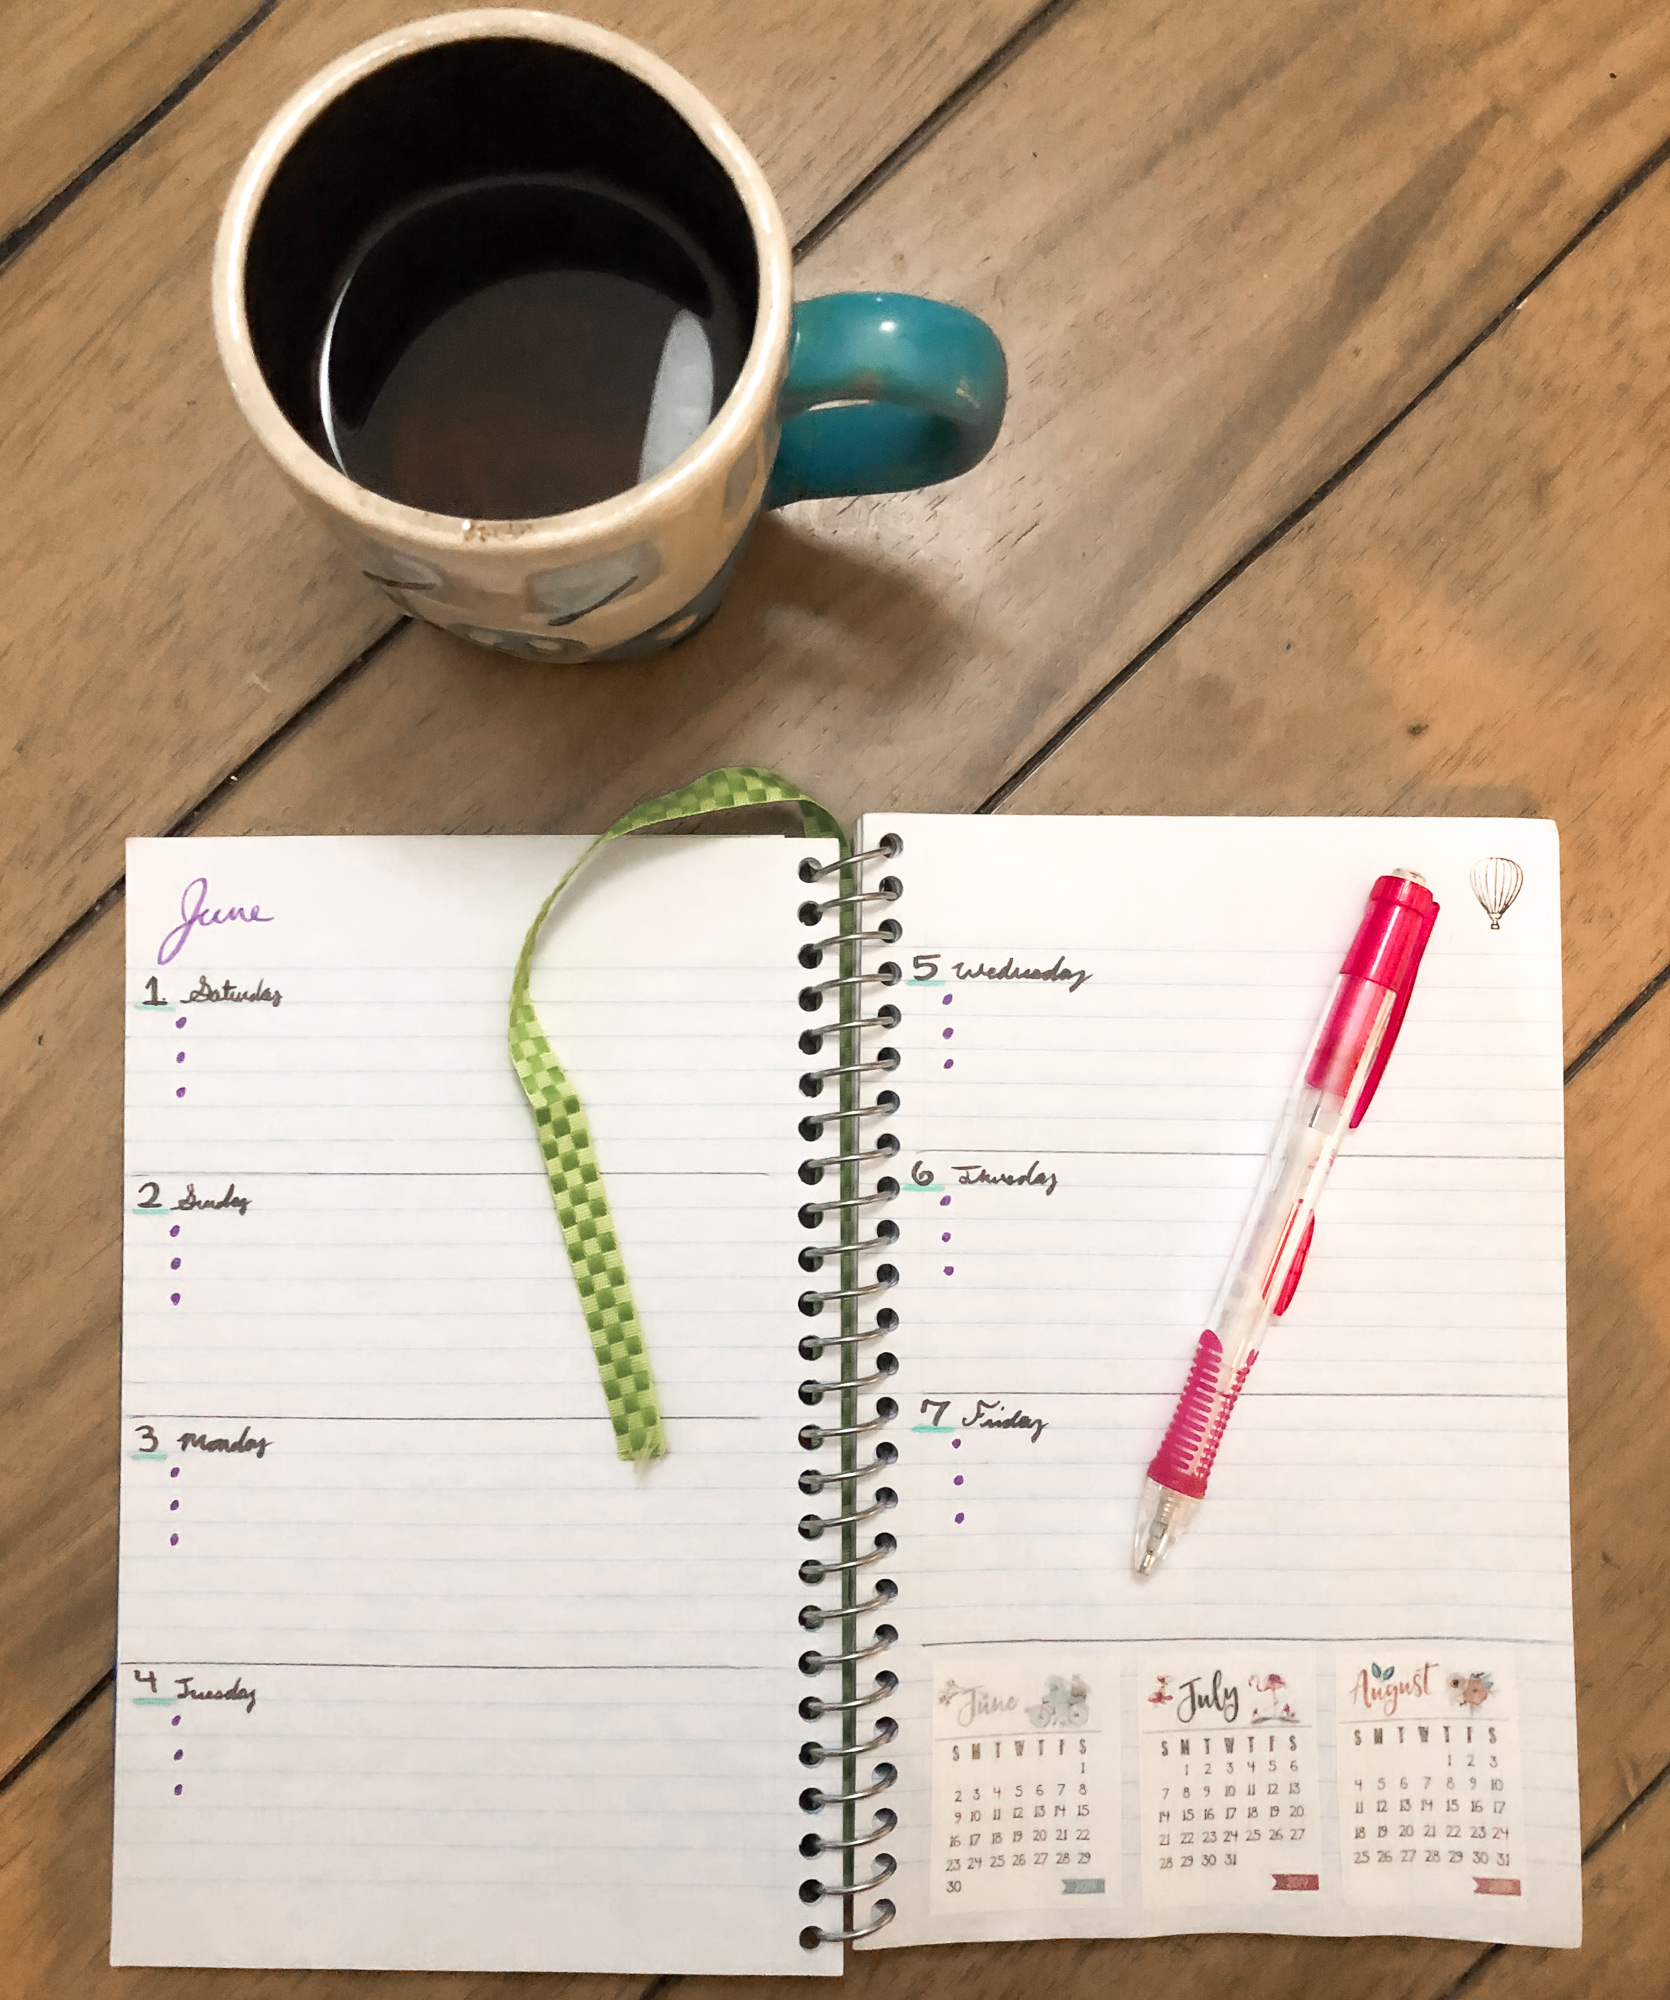
Step 3: Open up your spiral and split the left-hand page into 4 blocks and the right-hand side into 3 blocks. Leave some space between the blocks for the dates. You can use the ruler if it helps. Now, make about 6 or 7 equally spaced lines within each block.
Step 4: There will be an open block on the left page since there are seven days in a week, so feel free to print a mini-calendar of the month to fit this spot or just doodle to fill the empty space. Now, you can write the month at the top of the right page and begin numbering the blocks by the date you are starting at. Continue to do this for every month of the year.
Step 5: Lastly, Finish decorating the inside and outside of your planner just how you like it. You can incorporate stamps, ribbons, or even bows. I wrapped a ribbon around the prongs of the spiral and made the longer end stick out so I could use it as a bookmark.
If Physical Planners Aren’t Your Style
Although I find a physical planner to be the most beneficial, there are planner apps to help you on the go. I’ve used the Google Calendar app for a while and it does the job. Another app I’ve heard good things about but haven’t yet used is Planner Pro – Daily Calendar on the app store. Digital planners are efficient for those of us without the space to carry a physical planner, or who just like the convenience of being able to access it through their phone.
With that out of the way, now you’re ready to start planning!